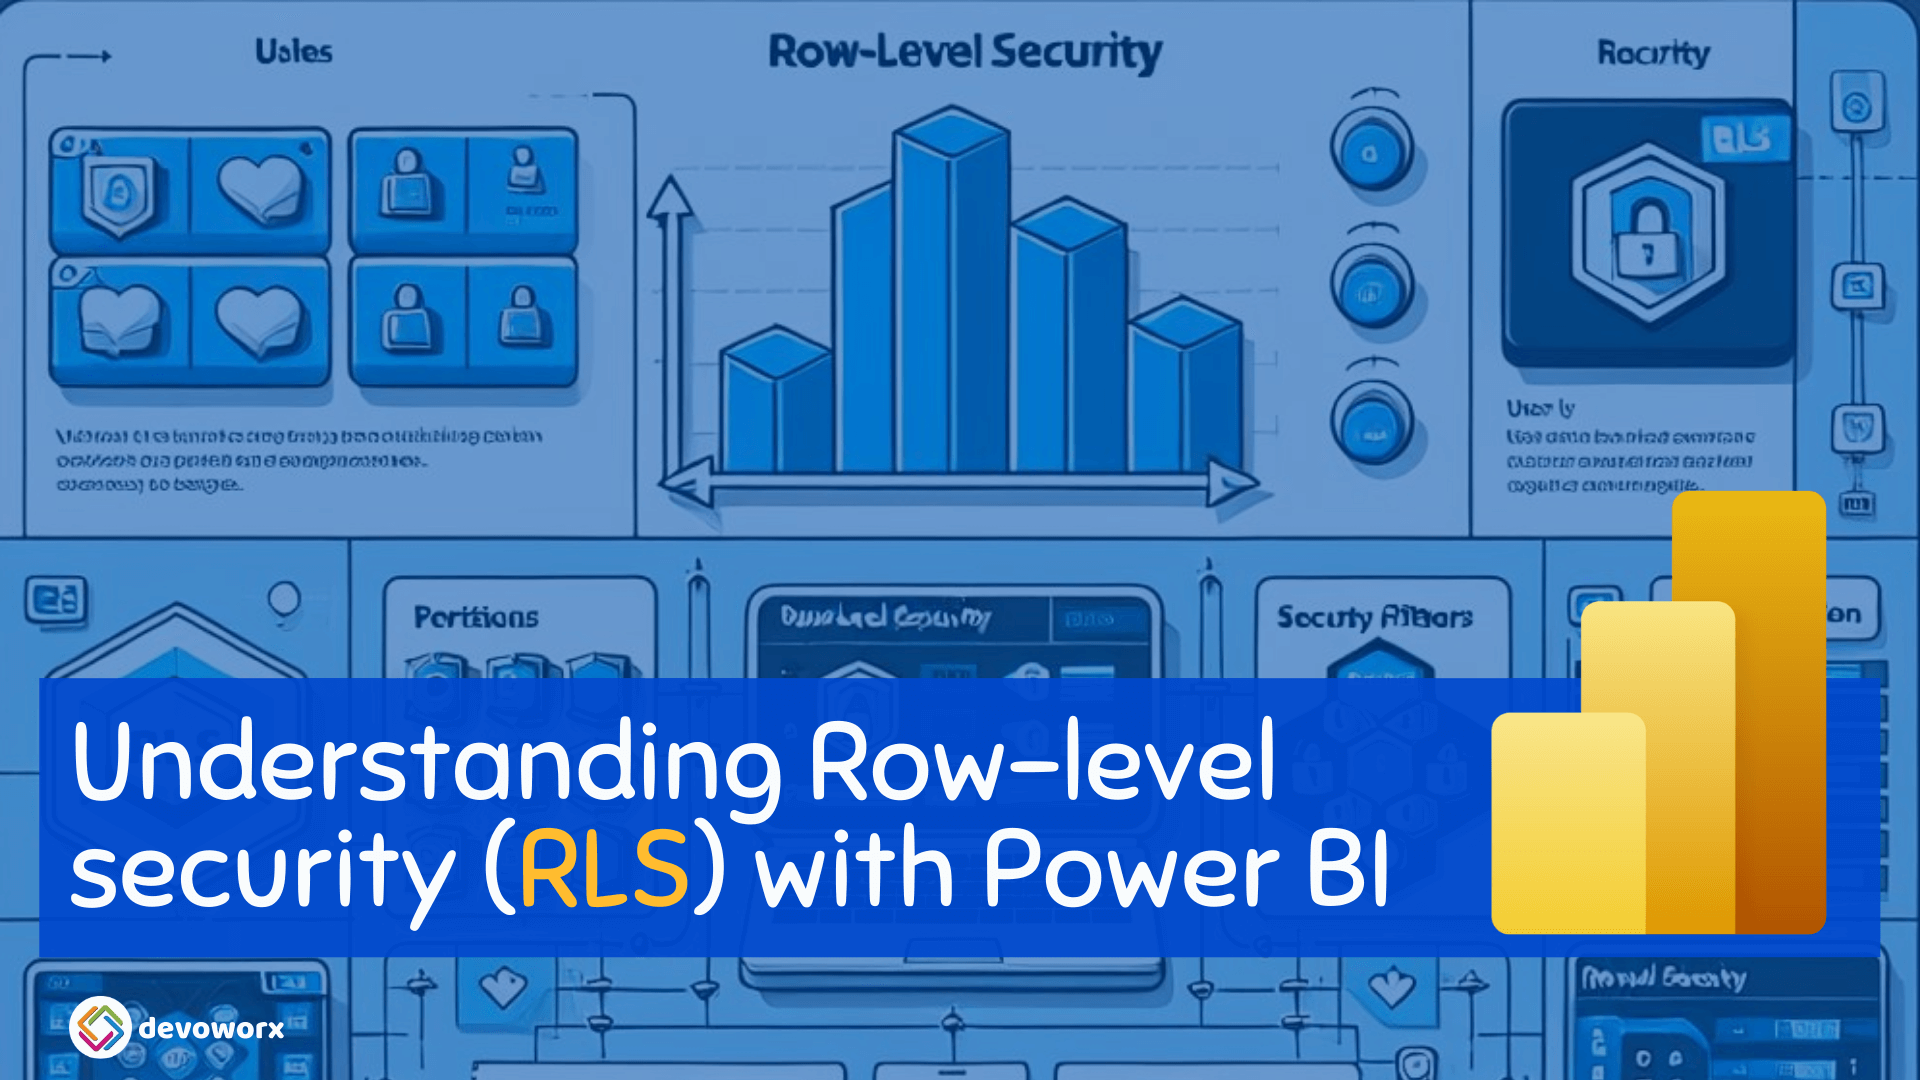
In Power BI, Row-Level Security (RLS) allows you to restrict access to data based on the user’s identity. This ensures that users only see data relevant to them based on their role or attributes like their email address, location, or any other field.
In this article, we will walk through how to create a row-level security (RLS) role for a Power BI semantic model, with a focus on filtering data based on the user’s email address.

Scenario for Row-Level Security (RLS) in Power BI
Imagine you have a Power BI semantic model named Model containing the following tables:
- Sales
- Date
- Product
- Employee
The Sales table is related to the Date, Product, and Employee tables. Now, you want to implement RLS to ensure that employees can only see their respective sales. Additionally, the RLS filter must match the employee to their email address.
Key Concepts of Row-Level Security (RLS) in Power BI
Before we dive into the solution, let’s define the key components of RLS:
- Roles: These define what access a user has to the data. In Power BI, you create roles, and then assign DAX expressions to filter data for that role.
- Filters: The DAX expressions you define determine which data will be visible to users assigned to a specific role.
- User Identification: Functions like
USERPRINCIPALNAME()can be used to retrieve user-related information (like their email address) and match it against data in your tables to apply the appropriate filters.
Implementing Row-Level Security Based on Email Address
Steps
- Define the Role
- Understanding the DAX Expression
- Applying the Filter
- Testing the Role
1) Define the Role
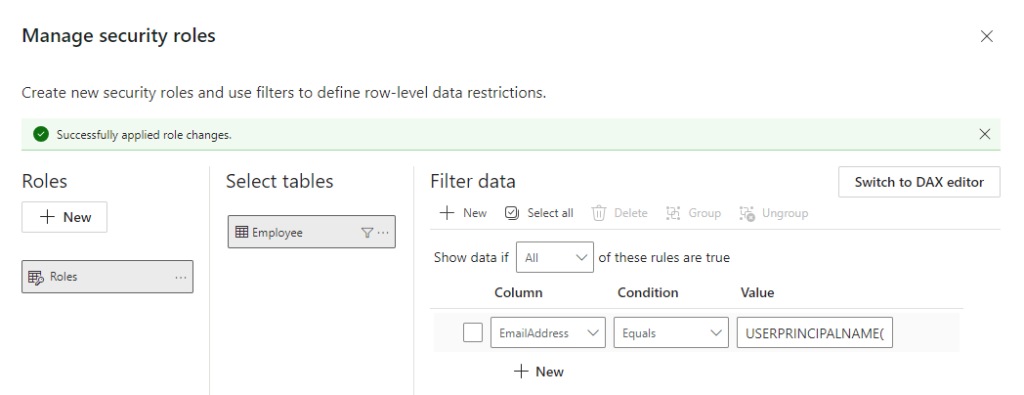
To implement the scenario where employees can only view their respective sales, we will create a role in Power BI and assign it a filter based on the employee’s email address.
Here’s the DAX expression we’ll use for the RLS filter:
Employee[EmailAddress] = USERPRINCIPALNAME()2) Understanding the DAX Expression
- Employee[EmailAddress] refers to the field in the Employee table that holds the email addresses of employees.
- USERPRINCIPALNAME() is a DAX function that returns the user’s email address. This is typically the user principal name (UPN), which is the user’s email address in Azure Entra ID.
- The filter ensures that only the rows where the employee’s email matches the current user’s email will be visible.
3) Applying the Filter
- In Power BI Desktop, go to the Modeling tab.
- Select Manage Roles and click Create to define a new role.

- For the Employee table, enter the DAX expression:
Employee[EmailAddress] = USERPRINCIPALNAME()
- Save and apply the role.
4) Testing the Role
After applying the RLS filter, you should test the role to ensure that the data is being filtered correctly:
- In Power BI Desktop, select View as Role to simulate the role.
- Choose the role you’ve created and input a test user’s email.
- Verify that only the sales data for the selected employee is displayed.
Why Use USERPRINCIPALNAME()?
You might wonder why we use USERPRINCIPALNAME() instead of other functions like USERNAME() or USERCULTURE(). Let’s explore each of these functions:
- USERPRINCIPALNAME(): This is the correct function when you need to filter data based on a user’s email address. It returns the user’s email address in the format
user@domain.com, which directly matches the data in the Employee[EmailAddress] column. - USERNAME(): This function returns the username in the format
domain\username(e.g.,domain\john.doe). This format is not suitable for matching email addresses. - USERCULTURE(): This function returns the user’s culture (locale) settings (e.g.,
en-US), which is irrelevant for filtering based on email addresses. - USEROBJECTID(): This returns the unique object ID of the user in Azure Active Directory (a GUID), which is not the same as the user’s email address and cannot be used for email-based filtering.
Best Practices for RLS Implementation
- Testing: Always test your RLS roles using the “View as Role” feature to simulate different users’ perspectives and ensure the filters work correctly.
- Dynamic Filtering: For more complex scenarios, you can dynamically filter based on other user attributes like department, region, or role.
- Security Group: In large organizations, you may prefer using a security group in Azure Active Directory to manage user access instead of filtering based on individual email addresses.
RLS Considerations and limitations
Here are the current limitations for row-level security (RLS) on cloud models:
- If you have already defined roles and rules in the Power BI service, you will need to recreate them in Power BI Desktop.
- RLS can only be defined on semantic models created with Power BI Desktop. To enable RLS for models created in Excel, you must first convert them into Power BI Desktop (PBIX) files.
- Service principals cannot be added to an RLS role, meaning RLS does not apply to apps using a service principal as the effective identity.
- Only Import and DirectQuery connections are supported; live connections to Analysis Services are handled in the on-premises model.
- The “Test as role” and “View as role” features do not work with DirectQuery models that have single sign-on (SSO) enabled.
- These features also only show reports from the semantic model workspace.
- “Test as role” and “View as role” do not support paginated reports.
- If a Power BI report references a row with RLS configured, users may see a message similar to the one for a deleted or non-existing field, which could make the report appear broken to them.
Conclusion
In Power BI, Row-Level Security (RLS) is a powerful feature that allows you to filter data based on the identity of the user. When you need to filter based on a user’s email address, the correct DAX function to use is USERPRINCIPALNAME(). This ensures that employees only see their respective sales data, maintaining data security and privacy.
By implementing RLS properly, you can ensure that each user gets the data relevant to them, providing a personalized experience while maintaining secure access controls.


