In this article, I will show you different examples for PowerApps validation that we may face on PowerApps such as required field, number, Email, Phone, Age, Date, URL, Password, Number, ZIP.
We will learn how powerapps validate forms without submitting and on submit?
- 1 Why PowerApps validation?
- 2 How can I validate data in Power Apps?
-
3
PowerApps Validation Examples
- 3.1 Required field validation in PowerApps
- 3.2 PowerApps number validation
- 3.3 PowerApps validate mobile number
- 3.4 Zip Code field Validation
- 3.5 Validating Age Field
- 3.6 PowerApps Email Validation
- 3.7 Data Validation With Pattern Matching
- 3.8 PowerApps validate date
- 3.9 Validating Password in PowerApps
Why PowerApps validation?
When developing apps, make sure your data is correctly stored in your Data Source. It is too late to Wait until a form has been submitted. So it is important to validate the form fields the moment a user leaves the current field and moves to the next one, especially if you’re saving specific types of data (such as email address, phone number, date, etc.)
How can I validate data in Power Apps?
You have to ways To validate the data in PowerApps either after the user clicks submit the form or when the user leaves the current field and moves to the next one. (the second is preferred)
When we talk about Data validation so IsMatch and validate will be your friends.
- The Validate function checks whether the value of a single column or a complete record is valid for a data source.
Validate( DataSource, Column, Value )
Validate( DataSource, OriginalRecord, Updates )
powerapps validate function example example
Validate the percentage value that must be between 0 and 100
Validate( Scores, Percentage, 10 )- The IsMatch function tests whether a string matches a pattern.
IsMatch( Text, Pattern [, Options ] )Example
Test if the user input is exactly Hello.
IsMatch( TextInput1.Text, “Hello” )
The IsMatch function in Power Apps allows the user to examine a body of text or numbers to see if it matches a set of Regex or automatic validation processes.
PowerApps Validation Examples
You can perform the PowerApps validation on submit, but as we mentioned before we can validate PowerApps when the user leaves the current field.
We will work on a SharePoint list with these columns:
- Employee Name -Requierd field
- Employee Id – must be a number
- Email Address -must match email form.
- Age- must be more than 18
- Phone- must match specific expression
Required field validation in PowerApps
How to implement Required field validation in PowerApps?
- For implementing PowerApps validation on submit while working with cards
- Select the card
- From the advanced properities choose to unlock to change properties

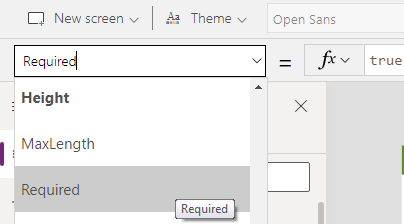
- On the Required property of the card change it to be true

this is the powerapps required field validation on submit.
- For implementing PowerApps validation before submit
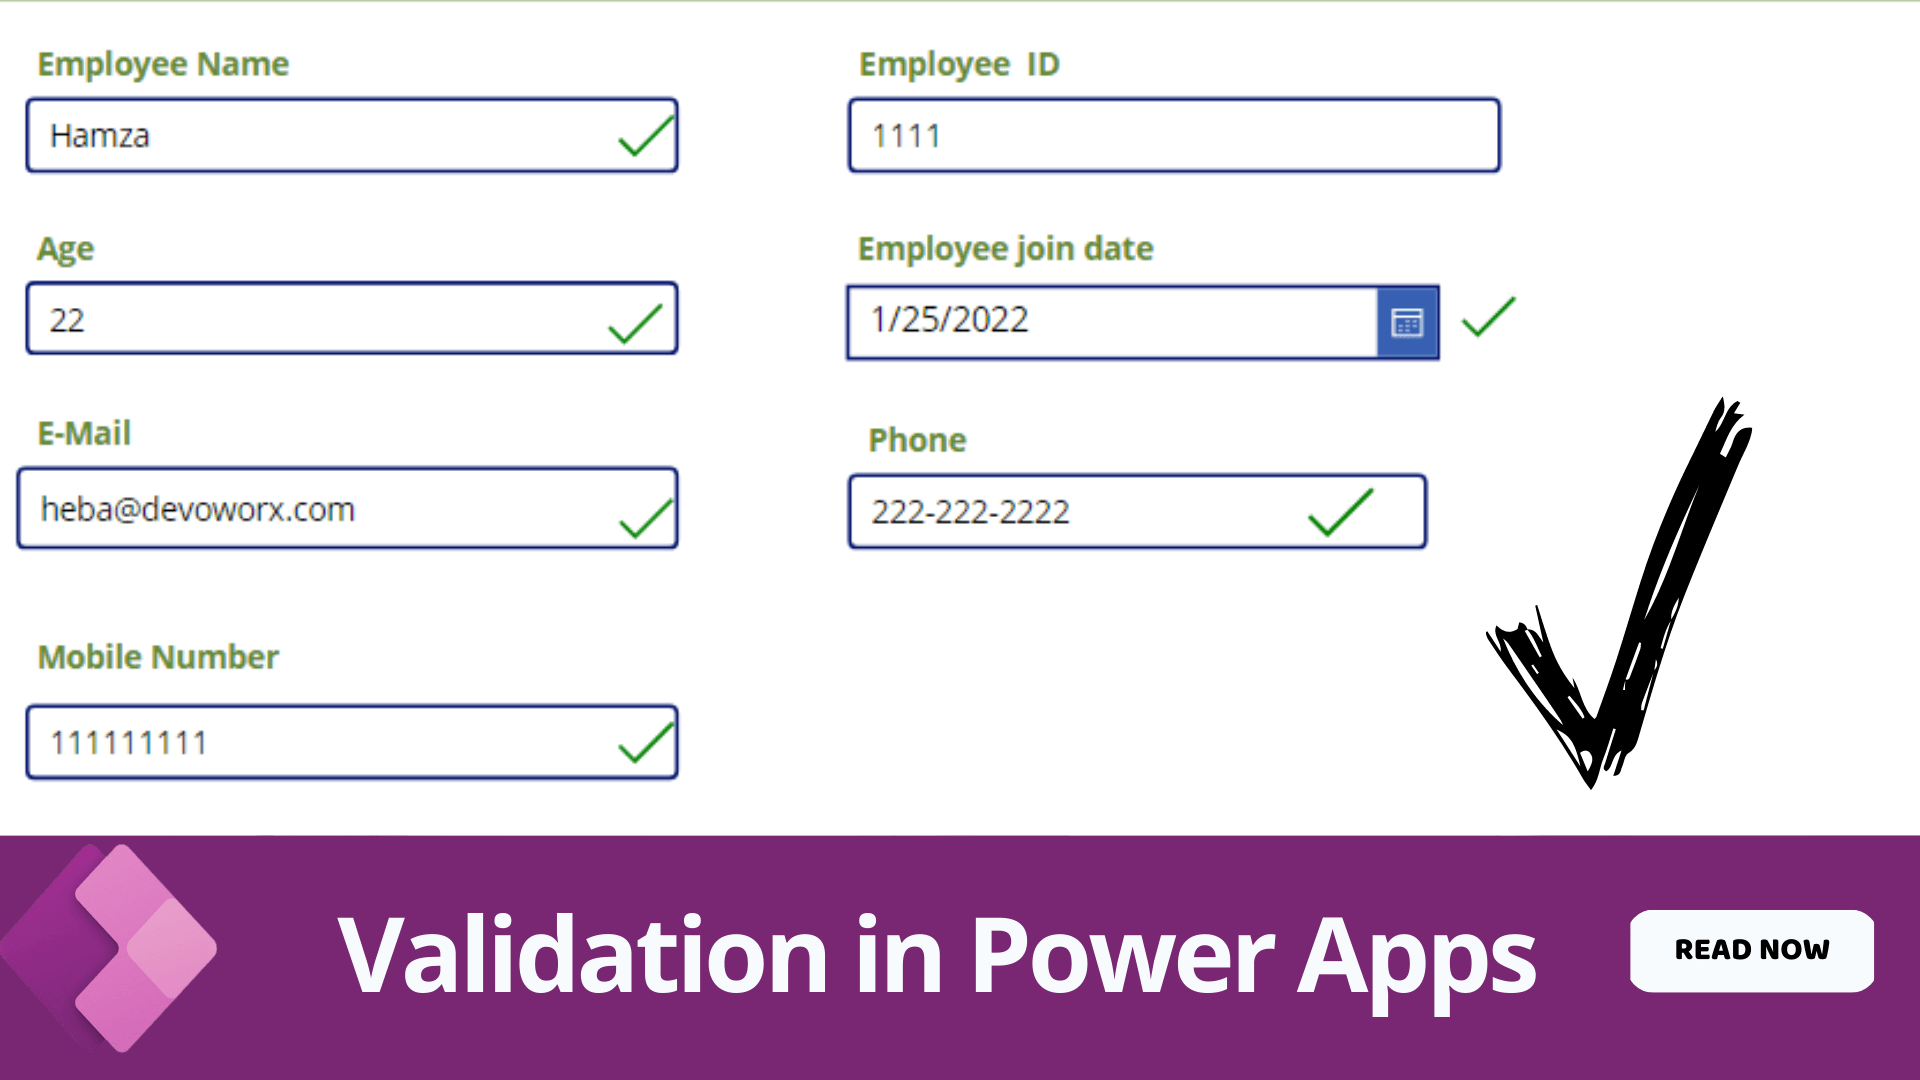
In my example, I will insert an icon to show the user if there are any errors or not and I will write the error in the tooltip of the icon.
you can apply the validation on a label or whatever you want. for example wirte on the label “the fieled can not be blank”
- Insert an Icon in the employee name textbox
- In the icon property write this formula
If(!IsBlank(txtEmpName.Text), Icon.Check, Icon.Cancel)
- In the color property write this formula
If(Self.Icon=Icon.Check, Green, Red)
- In the tooltip property write this formula
If(!IsBlank(txtEmpName.Text), "", "The Field can not be blank")You can apply this step on a label insteed of the tooltip as we mentioned before

Now when the field is black the icon will be the X icon with the color red otherwise the icon will be the check icon with green color.

This is the difference between powerapps validation on submit and powerapps validation before submit.
PowerApps number validation
In this PowerApps validation example, we’ll look at how to validate a number field in PowerApps.
To validate a textbox to Accept only numbers:
- Select the textbox
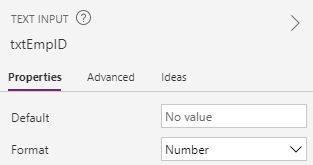
- Make the Format property to be number

Also you can use the IsNumeric function to check if the value entered in the textbox is number or not.
IsNumeric( txtEmpID.text)PowerApps validate mobile number
- Select the mobile textbox
- Make the Format property to be number to allow only digits
- Insert an icon and use the same method we used in the Employee Name
- In the Icon property set the formula to allow only 10 digits
If(
    IsMatch(
        txtmobile.Text,
        Digit & Digit & Digit & Digit & Digit & Digit & Digit  & Digit & Digit & Digit


    ),
    Icon.Check,
    Icon.Cancel
)- and in the color property set the formula to be
If(Self.Icon=Icon.Check, Green, Red)- you can add an error message to the user either on a lable or on the tooltip property of the icon as shown bellow
If(
    IsMatch(
        txtmobile.Text,
        Digit & Digit & Digit & Digit & Digit & Digit & Digit  & Digit & Digit & Digit


    ),
    "",
    "the mobile must be 10 digit"
)

Zip Code field Validation
The PowerApps Zip Code field Validation is the same as we have done in the previous example except for the number of the digits
Validating Age Field
In this PowerApps validation example, we’ll look at how to validate a number field in PowerApps to be > or < specific number.
let’s check if the age field is more than 21 years old.
- Select the Age textbox
- Make the Format property to be number to allow only digits
- Insert an icon and use the same method we used in the Employee Name
- In the Icon property set the formula to be
If(Value(txtAge.Text) >= 21, Icon.Check, Icon.Cancel)- and in the color property set the formula to be
If(Self.Icon=Icon.Check, Green, Red)- you can add an error message to the user either on a lable or on the tooltip property of the icon as shown bellow
If(Value(txtAge.Text) >= 21, "", "Age must be >=21")
PowerApps Email Validation
Another example of PowerApps validation before submit is validating Email address field. An email address must be in the format example@ example.com.
There is a predefined matching pattern already exists for email addresses that you can use
- Select the Email Address textbox
- Insert an Icon as we used before in the employee name .
- In the Icon property set the formula to be
If(
    IsMatch(txtEmail.Text, Match.Email),
    Icon.Check,
    Icon.Cancel
)- In the color property write this formula
If(Self.Icon=Icon.Check, Green, Red)- you can add the validation error message to the user either on a lable or on the tooltip property of the icon as shown bellow
If(
    IsMatch(
        txtEmail.Text,
        Match.Email
    ),
    "",
    "the Email should be in the formate example@example.com"
)
Data Validation With Pattern Matching
What if we want to validate PowerApps textbox to be in a specific format, For example, we want to formate the phone number to be n the format ###-###-#### then the formula of the Icon property should be
If(
    IsMatch(
        txtPhoner.Text,
        Match.Digit&Match.Digit&Match.Digit&"-"&
        Match.Digit&Match.Digit&Match.Digit&"-"&
        Match.Digit&Match.Digit&Match.Digit&Match.Digit
    ),
    Icon.Check,
    Icon.Cancel
)- and in the color property set the formula to be
If(Self.Icon=Icon.Check, Green, Red)- you can add the validation error message to the user either on a lable or on the tooltip property of the icon as shown bellow
If(
    IsMatch(
        txtphone.Text,
        Match.Digit&Match.Digit&Match.Digit&"-"&
        Match.Digit&Match.Digit&Match.Digit&"-"&
        Match.Digit&Match.Digit&Match.Digit&Match.Digit
    ),


    "",
    "the Phone should be in the format ###-###-#### "
)
You can change the matching according to your required format
PowerApps validate date
Are you trying to validate the Date field in PowerApps? This PowerApps validation example shows how to validate a date field in PowerApps. The user must choose a weekday from Monday to Friday and must be a day in the future.
- Insert an icon and in the icon property write the followin formula
If(
    Weekday(joinDate.SelectedDate, StartOfWeek.Monday) <= 5
    And joinDate.SelectedDate > Today(),
    Icon.Check, Icon.Cancel
)- and in the color property set the formula to be
If(Self.Icon=Icon.Check, Green, Red)- you can add the validation error message to the user either on a lable or on the tooltip property of the icon as shown bellow
If(
    Weekday(joinDate.SelectedDate, StartOfWeek.Monday) > 5,
    "Choose a day from Monday to Friday",
    joinDate.SelectedDate <= Today(),
    "Must choose a date in the future",
    "No date was selected"
)
Validating Password in PowerApps
- Select the Password textbox
- Insert an Icon as we used before in the employee name .
- In the Icon property set the formula to be
Icon = If(
    IsMatch(
        txtPassword.Text,
        "^(?=[^\d_].*?\d)\w(\w|[!@#$%]){7,20}
"
    ),
    Check,
    Icon.Lock
)
this validates a strong password which can contain eight, nine or 10 characters with the addition of at least one digit and at least one alphabetic character and no special charachters.
- In the color property write this formula
If(Self.Icon=Icon.Check, Green, Red)- you can add the validation error message to the user either on a lable or on the tooltip property of the icon as shown bellow
If(
    IsMatch(
        txtEmail.Text,
        Match.Email
    ),
    "",
    "the Email should be in the formate example@example.com"
)
Conclusion
We learned how to
- Implement required field validation in PowerApps
- Validate Number in PowerApps
- Data Validation With Pattern Matching
- How to validate Age in PowerApps
- How to IsNumeric function in PowerApps
- How to validate mopile in PowerApps
- Zip code validation in PowerApps
- How to validate email address in PowerApps
- How to validate Date validation in PowerApps
- How to implement password validations in PowerApps
See Also
- What are Microsoft Power Apps?
- PowerApps Print Function, Forms, And Scrollable Galleries
- Share PowerApps With External Users / Guest Users
- Sign Up and use Power Apps
- PowerApps Canvas App Vs Model-driven App Vs Portal App.
- What Is Microsoft Dataverse?
- How to share Power Apps to Office 365 group
- Connectors in a Power Apps.
- Share Power Apps to external users (guest users)
- How To Create A PowerApps Custom Connector?
- How To Create Power Apps DataFlows?
- Learn Power Apps – youtube channel.


